Tickets - Creation and On Sale Settings
Once an event has been created, the next step is to create tickets for your customers to purchase.

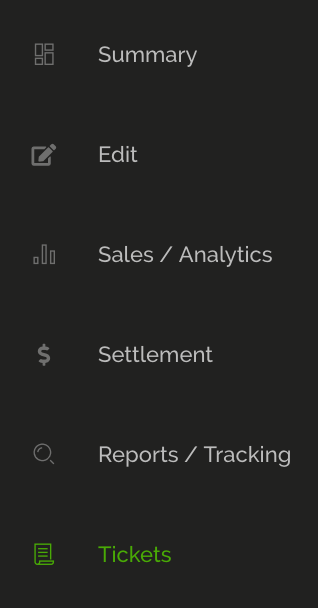
Alternatively, from your Event Dashboard page, select "Tickets" on the left sub-menu:
To create a new ticket type:
- Select “New Ticket”
- Enter the following details:
- Ticket Name – This will be shown on your event page and also on the ticket itself (eg. General Admission, Adult, First Release).
- Subtitle – Optionally show further information regarding this ticket type (eg. ticket inclusions). The subtitle will only show to customers at the purchase point and will not be visible anywhere else.
- Allocation – The total number of tickets that are assigned to this type.
- Min Tickets – The minimum number of tickets allowed per transaction.
- Max Tickets – The maximum number of tickets allowed per transaction.
- Pricing:
- “Pass on fees” – By default, tickets are configured to pass all fees to the customer. If you enter a ticket price, the fees will be calculated and added automatically, with a total amount payable by the customer shown.
- “Absorb fees” – If you would like to absorb all fees, selecting this option will allow you to specify a final price for customers, and work backwards to calculate how much you will receive.
- “Free ticket” – Free tickets have no price or fees attached.
- Publishing Options
- Flag as sold out – Selecting this box will display this ticket type as sold out, regardless of the actual number of tickets sold.
- Show remaining tickets – Select this option if you wish to display to customers how many tickets are remaining for this ticket type.
- Ticket is invisible – Selecting this box will hide this ticket type on the event page.
- Override sale times for this ticket – Selecting this box will allow you to override the on/off sale times configured on the entire event.
Select when ticket sales start / finish:
- Scrolling down on the "Tickets" page, under the “Sales times” header you will be able to specify your on/off sale times for the entire event.
- The default is for your event to be on sale immediately, and off-sale time 1 hour before the event start time.
- Click on the On-Sale and Off-sale Date / Time to change.
- Select “Update” to save your setting.
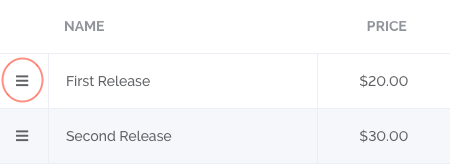
Rearrange Ticket Ordering:
By default, tickets are ordered by price from lowest to highest. If you would like to rearrange the order of the tickets as displayed on the event page, click and hold on the handle circled in red below, and drag to re-order your tickets.
To make a ticket type Visible or Invisible:
- In your ticket listing, there is a quick-access toggle to make a particular ticket type visible
- There is a toggle under the header “Visible”
- To make the ticket Visible, select the toggle till it highlights Green
- To make the ticket Invisible, select the toggle till it highlights Grey.

